Solving the Trillion-Dollar Access Problem


How To Buy

Connect Your Wallet
Use WalletConnect to link any Web3 wallet and get ready to join the crypto presale immediately.
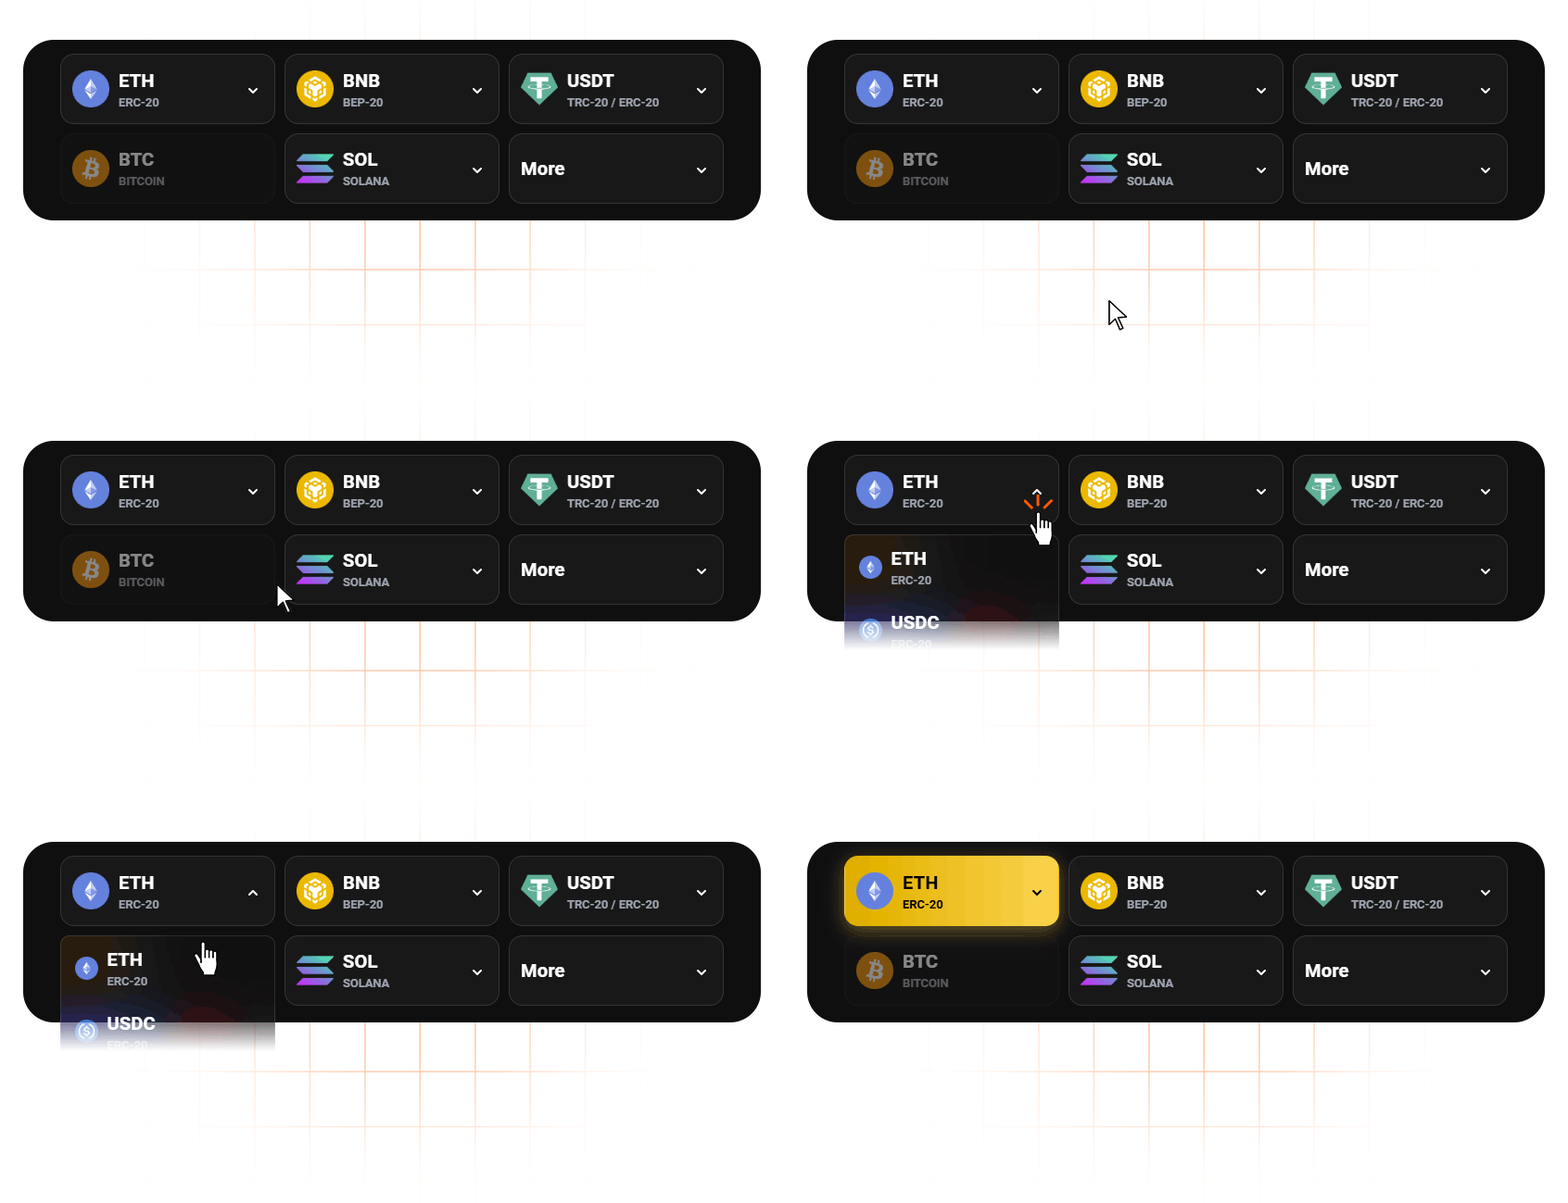
Choose Your Currency
Pay with ETH, USDT, BNB, MATIC, USDC - all supported for fast, secure transactions.
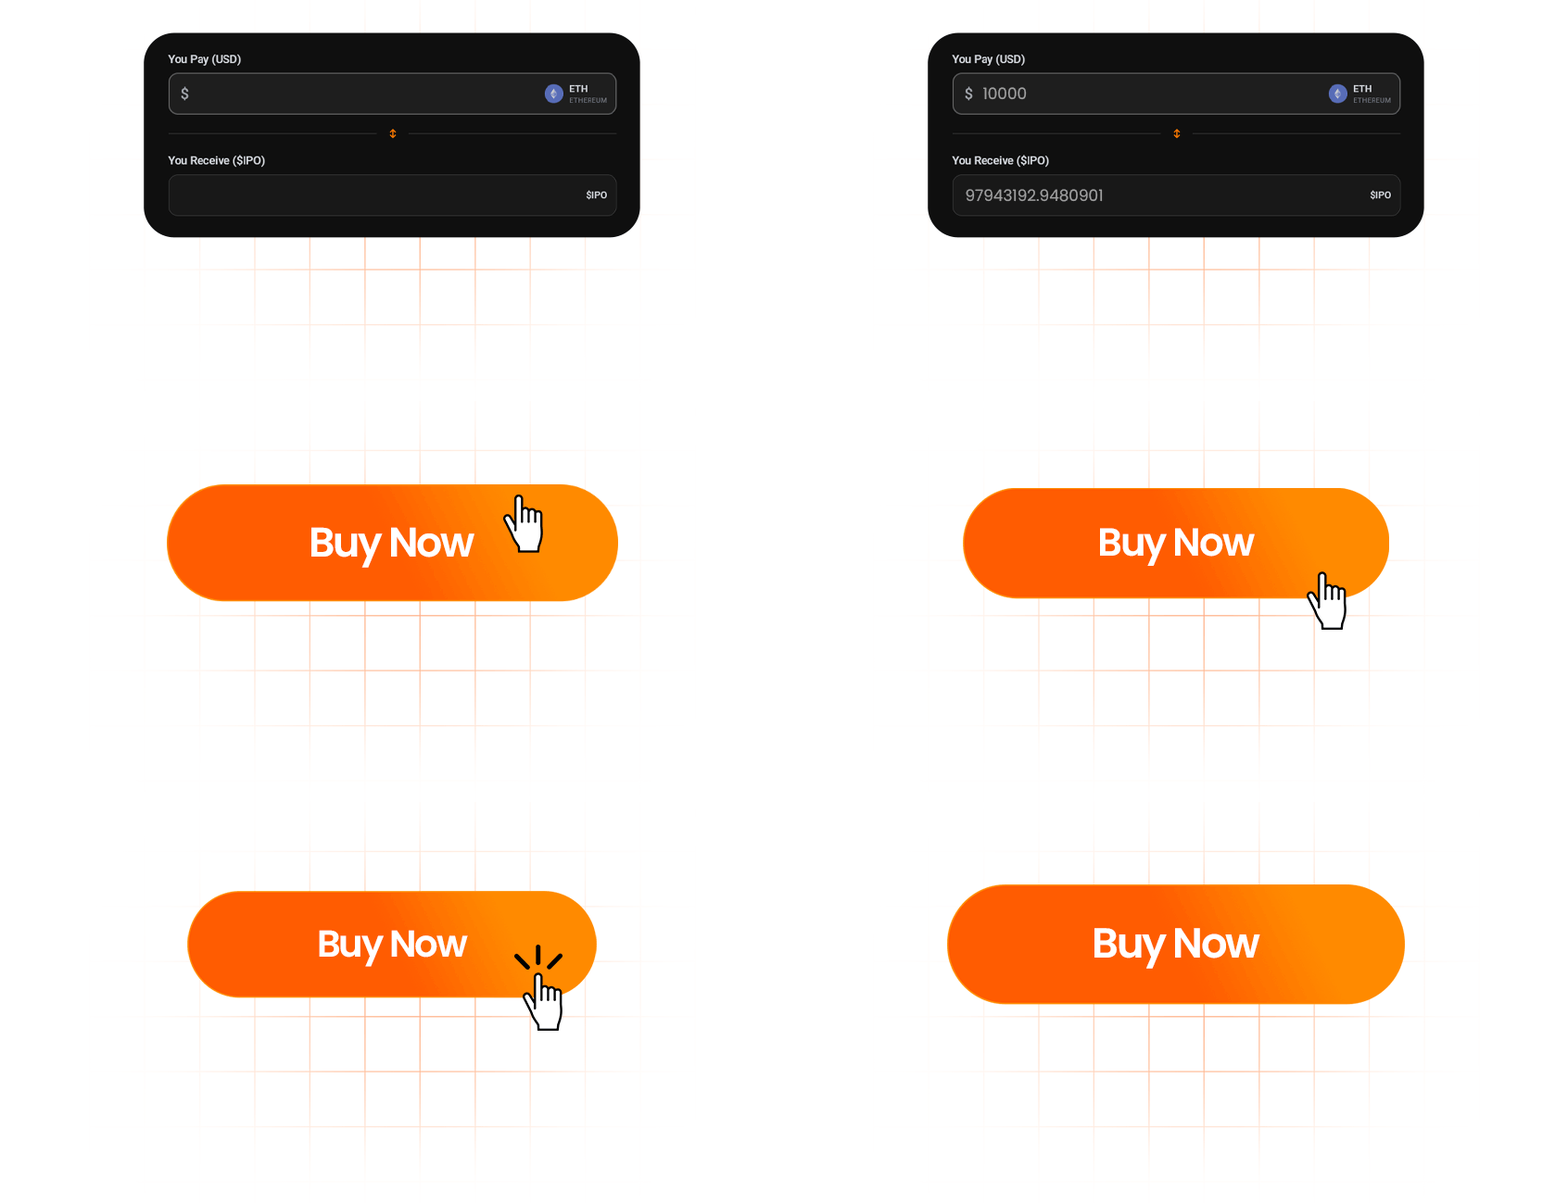
Enter Amount & Buy
Select your allocation and complete a verified on-chain transaction in seconds.
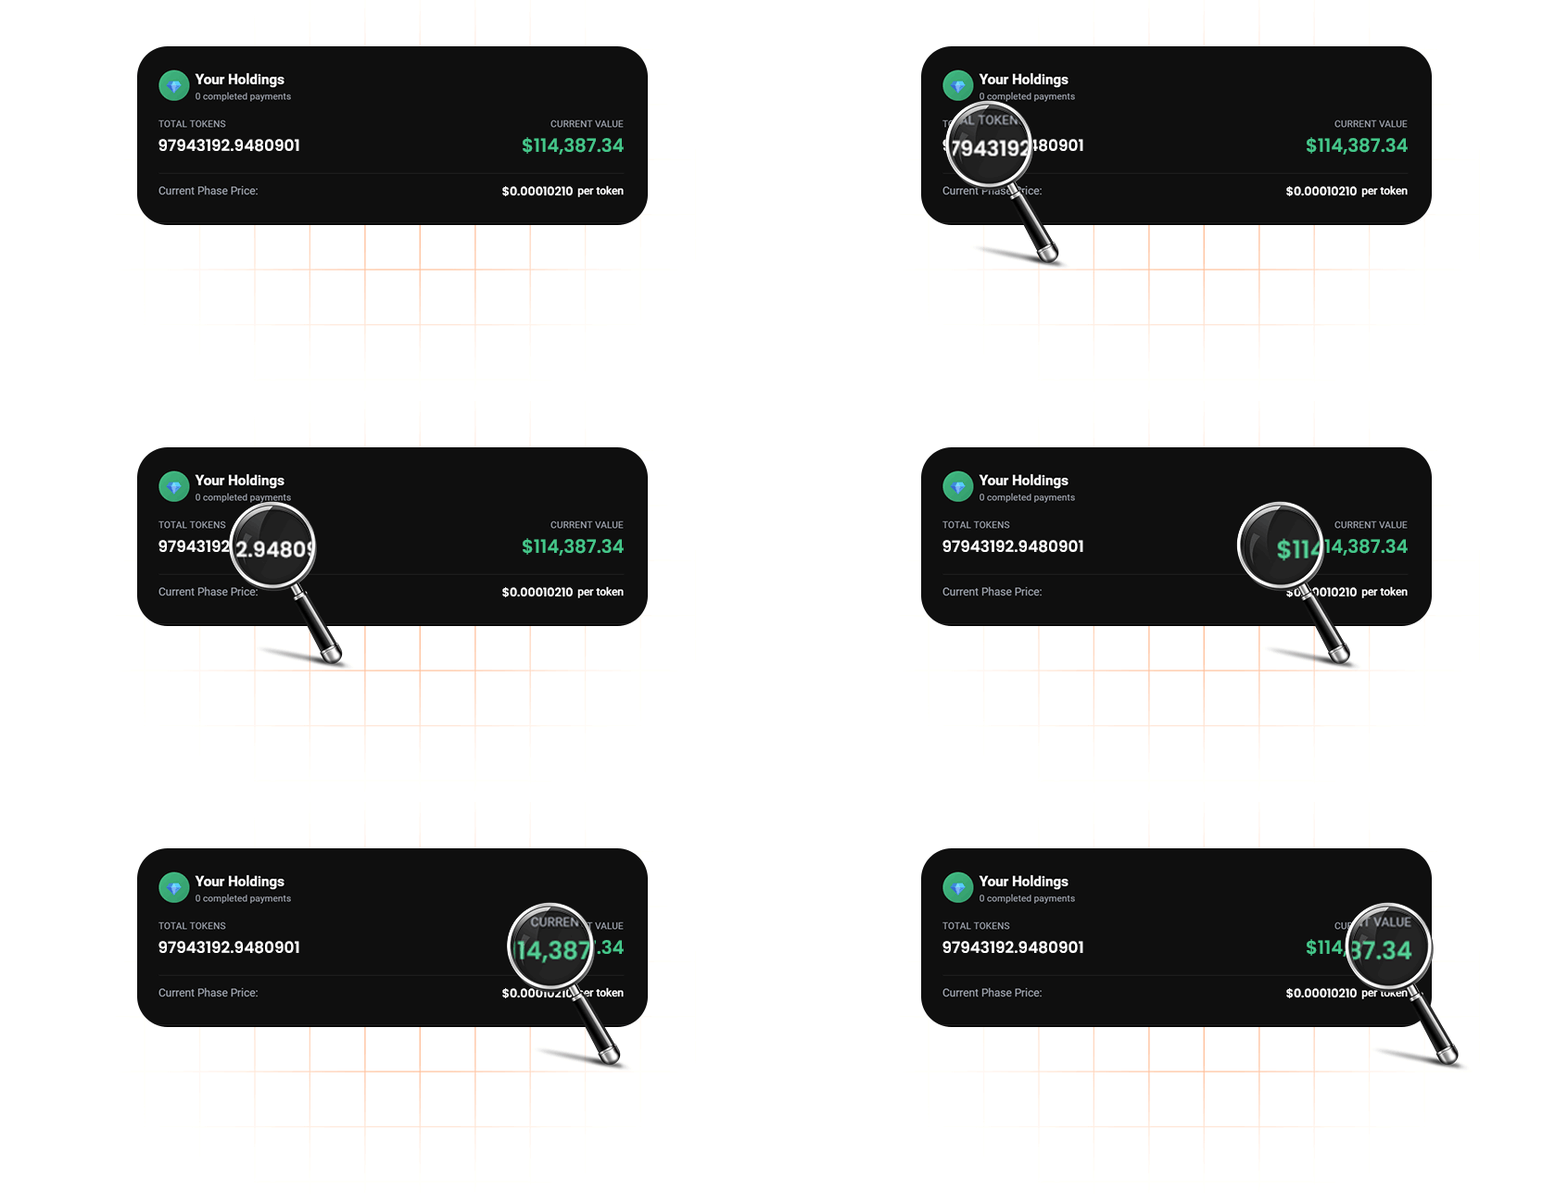
Receive Your $IPO Tokens
Tokens are delivered safely to your wallet after purchase or at the end of the presale.
Live Presale Stats
Track real-time progress of the $IPO crypto presale and secure your allocation before the next price increase.
Per $IPO Token
until price increase
Join Us at Global Events
$IPO Token Utility
If you ignoredUberat $4M,
You missed a $82 Billion IPO payout
90% of a startup's value is created before it goes public. But unless you're part of the "inner circle", you're legally locked out.
The $250K Ticket
Minimum buy-ins for VC funds exclude 99% of the world. You need a quarter million just to get a meeting.
The 10-Year Trap
Your money is frozen for a decade. Even if the company booms, you can't sell while insider cash out on secondary market.
What insiders Got
By the time you could buy on IPO day, the biggest gains were already captured by VCs and insiders
The Accredited Wall
Unless you earn $200,000/year or have $1M+ net worth, U.S. law blocks you from investing in private startups. You're legally shut out from the highest-growth opportunities. The system keeps ordinary people on the sidelines.
Every year, $1-2 trillion in startup value is created behind closed doors. The rich get richer. You get the scraps at IPO.
Until now
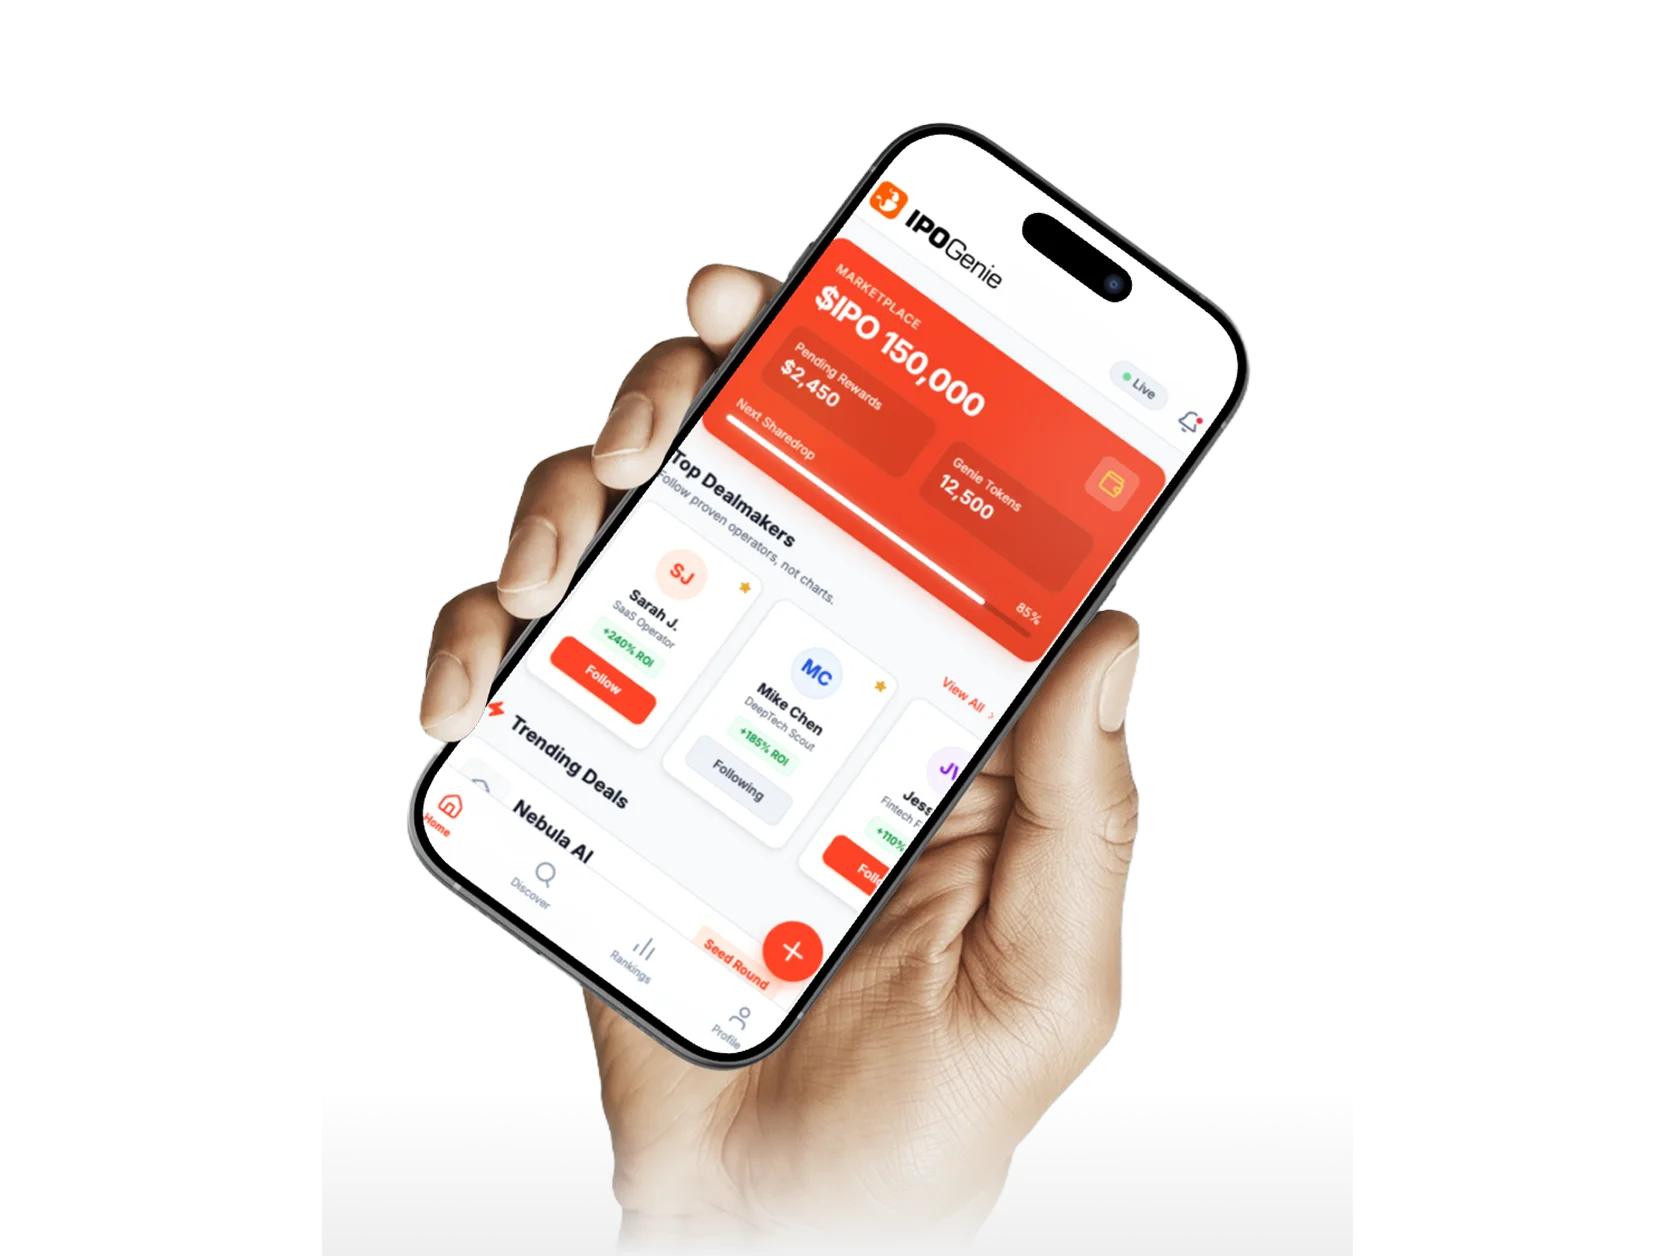
Unlock More Opportunities



How IPO Genie Works


AI Deal Scoring
Technology Overview
Tokenomics
Tokenomics
Institutional Grade Retail Accessible
The Master Plan
Traditional VC vs IPO GenieIPO Genie vs Traditional VC


Solving Web3's Biggest Access Problem

What Makes IPO Genie Different








Market Pulse
Frequently Asked Questions
Join the IPO Genie Community
